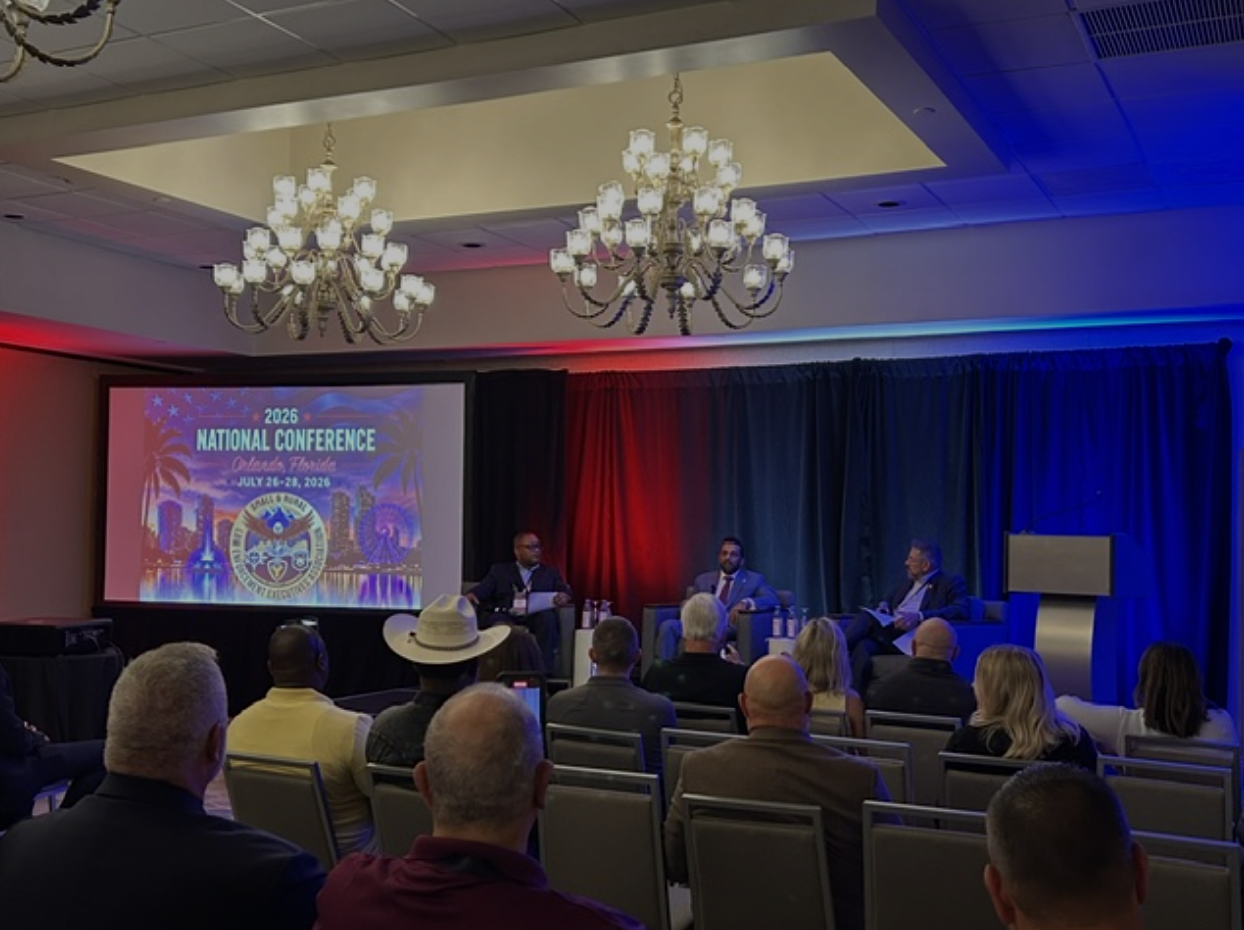
CLIPr Proudly Sponsors SRLEEA Conference in Orlando
At SRLEEA, FBI Director Patel called AI essential for agencies of every size. See how CLIPr is helping small and rural departments do more with less.


Every police report gets judged twice by people who were not on scene: first by the supervisor who decides whether it gets kicked back tonight, then by a prosecutor, defense attorney, or judge who treats it as the official record. Writing for those two readers is the entire skill.
This guide shows patrol officers, recruits, and FTOs how to write a police report in 10 steps, from field notes to RMS submission, plus a printable CLEAR-PC checklist, a worked theft skeleton, and fixes for the most common kickbacks. Budget about 10 minutes for structured field notes before you type; the draft moves fast once they exist.
Where this guide and your policy manual differ, your policy wins. And this page is written for sworn officers; civilians reporting a crime should contact their local police department or use its online reporting portal.
The fundamentals matter even more as agencies adopt AI-assisted police reports: a generated first draft is only as useful as the officer reviewing it.
TL;DR: the process at a glance
Have these in hand before you open the report screen:
Most report-writing advice arrives as disconnected tips. CLEAR-PC compresses the core guidance from the IACP's Principles of Report Writing, Police1's report-writing error taxonomy, and MPD's basic report writing training into one pass you can run before you submit.
Events in the order they actually happened, with consistent times.Dispatched 1402, arrived 1409, contacted V1 at 1411.
Every element of the offense supported by a stated fact. RAS and PC articulated with specific observations.
Each item described, located, and tracked through every chain-of-custody handoff.
Every detention, search, and use of force paired with the facts that justified it, not conclusory labels.
Every person labeled (C1, V1, S1, W1, RP) with full identifiers: name, DOB, address, contact.
Sensitive details in the internal narrative per agency policy, not the public-facing version.
First person, past tense, active voice. Clear, concise, complete, correct. Names, dates, times double-checked.
Each letter maps to one or more steps below, and the Verification section reuses the checklist as your final audit.
Start with the offense, not the story. The classification determines which facts the narrative must prove, and Police1's error analysis flags missing crime elements as one of the most common report failures.
Pull the statute, list its elements in your notes, and treat the list as a content checklist. For a theft, that means facts supporting taking, ownership, and lack of permission.
Common pitfall: writing "S1 committed burglary" as if the label proves itself. If the owner never told you the suspect lacked permission to enter, the report has a hole a defense attorney will find.
A fast report is written twice: once in field notes, once in the RMS. MPD's report writing lesson builds reports on the 5W1H (who, what, when, where, why, how) and consistent person labels in the style of C1, V1, S1, W1, and RP.
Before you clear the call, run a 10-minute pre-write pass:
Common pitfall: partial identifiers. "A witness at the scene" is a dead end six months later.
Order is where most narratives fall apart. Police1's guide to organized, concise reports defines true chronological order as "the order in which the events actually occurred," which usually starts before you arrived. MPD training is blunt on the same point: the narrative must be written in chronological order.
Outline from the earliest relevant event to final disposition. For a theft call, the timeline starts when the victim last saw the property secured, not when you got the dispatch.
Common pitfall: narrating in the order you learned things. Tell events in the order they occurred and note how you learned each fact.
The first paragraph sets the scene and the scope. Following Police1's scene-setting guidance, establish in two or three sentences: date and time, your assignment and jurisdiction, the call type, and how you became involved.
A workable dispatch opener:
For investigative or self-initiated reports, a summary-style variant works: "My investigation revealed the following facts." The narrative then proves that sentence.
Common pitfall: burying the call type. The reader should know what kind of incident this is by the end of the first paragraph.
This is the most-cited style rule in law enforcement writing, and it exists for courtroom reasons. The IACP's principles direct officers to write in past tense and active voice. First person is the standard convention throughout: "I observed," "I detained," "I collected."
Active voice puts an actor in front of every action, which is what cross-examination demands.
Only one tells the court who can testify to it.
Drop jargon and radio codes too; Police1's error taxonomy lists jargon alongside passive voice as a recurring sin. Write so a juror with no police background follows every sentence.
Common pitfall: passive constructions creeping into use-of-force and search passages, the exact places where the actor matters most.
Every escalation needs its legal basis on paper. Name the type of contact (consensual, investigative detention, arrest) and articulate the facts that justified each transition. Insufficient legal justification is another failure Police1's analysis calls out: the stop, the search, and the arrest each need their reasoning shown, not asserted.
Facts beat labels. The first is a conclusion; the second survives scrutiny.
State the RAS before the detention appears in the narrative, and the PC before the arrest. The justification belongs next to the action it supports.
Common pitfall: a bare "based on my training and experience" with no observable facts attached.
Statements win and lose cases, so handle them with precision. Use quotation marks only for exact words, attribute every statement to a labeled person, and note when and where it was made. MPD's lesson ties statements to its identifier system so there is no ambiguity about who said what.
Mark paraphrase as paraphrase: "V1 stated, in summary, that..." Keep spontaneous statements with their circumstances: "Prior to any questioning, S1 stated, 'I only took the laptop.'"
Detectives hit this attribution problem at scale across hours of recorded interviews. The overview of interview-room transcription for detectives covers how speaker-identified transcripts and timestamps speed up attribution.
Common pitfall: blending quote and paraphrase. If it is in quotation marks, it must be verbatim.
The IACP's principles push for complete, correct reports, and evidence sections are where vague writing does the most damage. For each item: what it is, where it was found, who collected it, the item number, and every handoff.
A defensible entry:
Describe injuries observationally ("a two-inch laceration above the left eyebrow") and reference the photos. Skip medical conclusions you are not qualified to make.
If any video will be released publicly, flag it early; the breakdown of FOIA-ready redaction services explains what gets blurred, masked, or muted before release.
Common pitfall: "various items of evidence were collected." That sentence cannot be inventoried or defended.
If your agency's format includes a synopsis, write it last and keep it tight. Police1's guidance on effective case summaries frames the summary as the busy reader's entry point: offense, parties, key evidence, and disposition in a few sentences.
Three to five sentences is usually enough. A prosecutor triaging a stack of files should grasp the case in fifteen seconds.
Common pitfall: a synopsis that mentions facts the narrative never establishes. The summary can only compress what the report already proves.
Run the Four C's pass from the IACP: clear, concise, complete, correct. Read the narrative aloud once; awkward sentences and missing words surface immediately.
Then two policy checks. First, narrative placement: MPD's training separates public-facing narratives from internal ones so sensitive details land in the right place. Second, BWC timing: MPD's lesson is one public example of a policy governing when officers view footage relative to the initial report and how that review is documented in subsequent reports. Agencies differ here, so follow yours exactly.
Confirm every referenced attachment (photos, statements, BWC clips, evidence forms) is uploaded, then submit.
A note on tooling: officers drafting from long recordings often start with bodycam transcription software rather than scrubbing video in real time, and the wider category of police report writing software covers how agencies structure, draft, and route reports inside existing RMS workflows.
Common pitfall: referencing an attachment that never got uploaded. The kickback is automatic.
Run CLEAR-PC against the finished draft as a self-audit:
If all eight hold, the report is unlikely to bounce, and it will read the same way in court eighteen months from now.
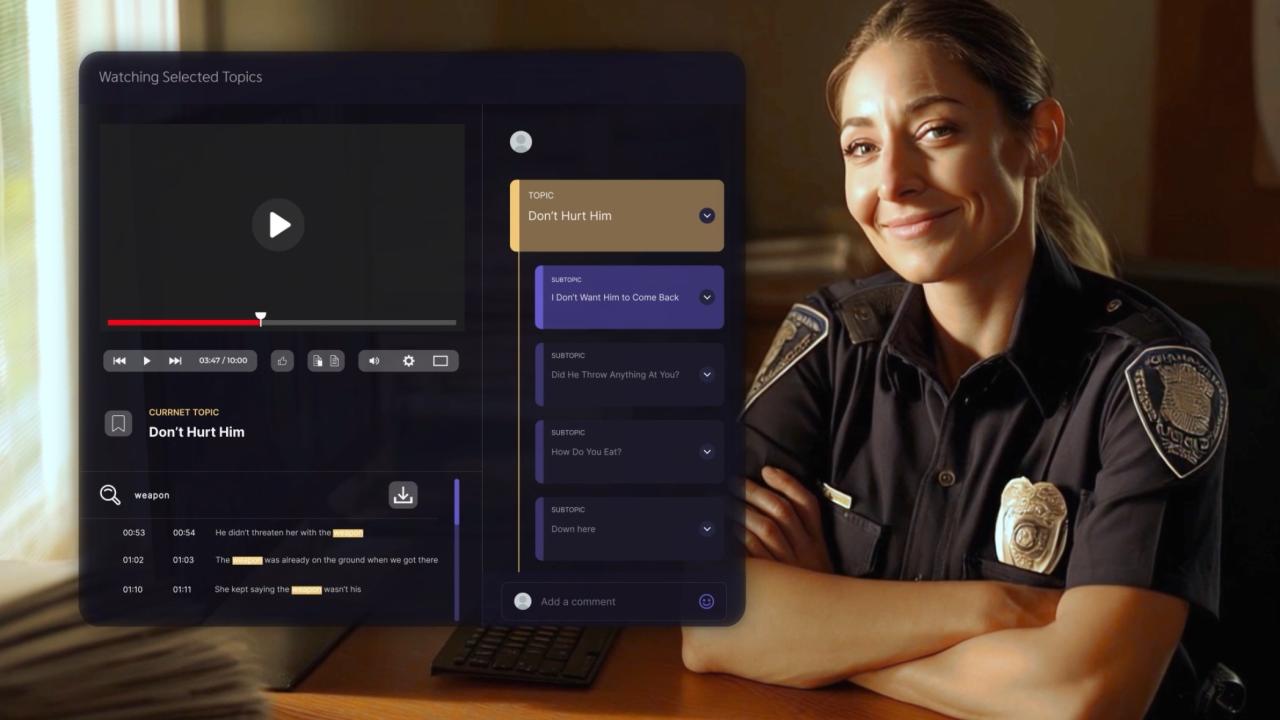
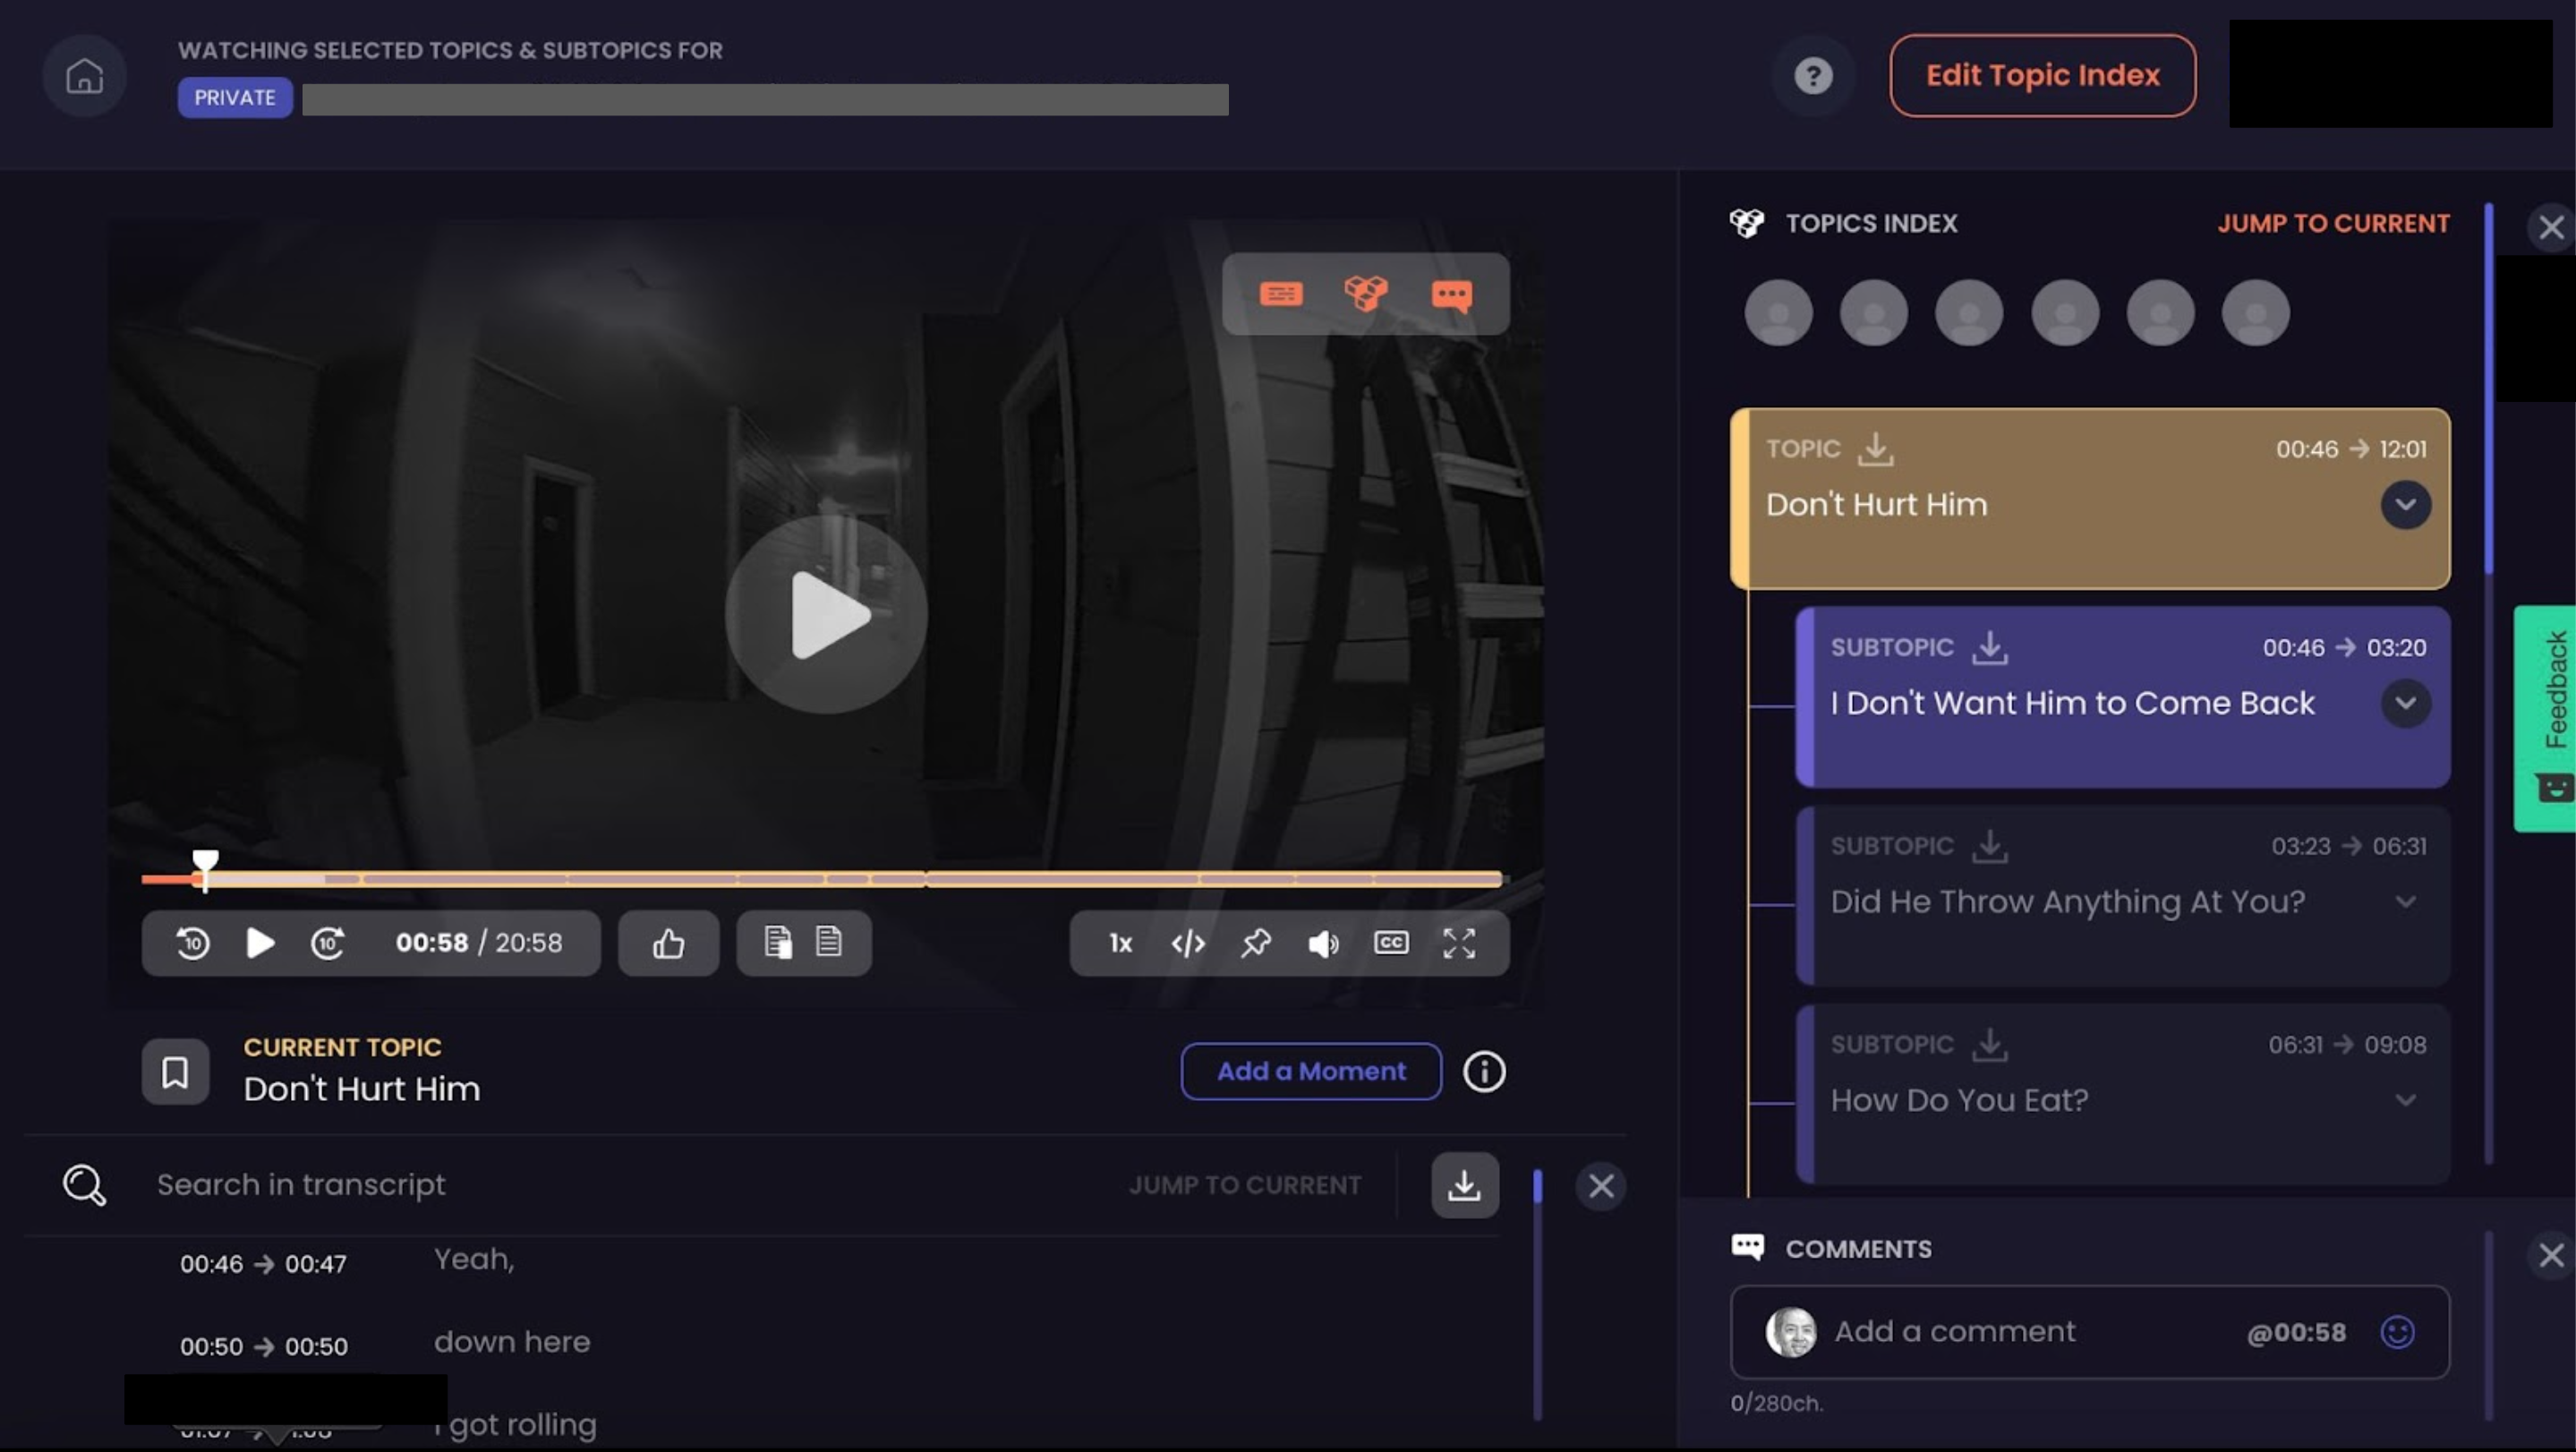
Writing the report is still the slowest part of a clean arrest. An AI police report generator builds the first draft from BWC audio so the officer starts at review and edit instead of a blank screen. To begin, an agency drags and drops bodycam footage from its existing evidence platform into CLIPr, with no docking or new hardware required. CLIPr transcribes and indexes the footage, generates a first-draft report, and notifies the officer, who reviews, edits, and approves it before it is copied into the RMS. As the agency scales, dock-to-auto-upload brings footage in automatically and a direct RMS push files the officer-certified report. Throughout, the officer stays in control, with agency data ownership and a CJIS-oriented security posture.
Supervisors and prosecutors bounce reports for predictable reasons. These five cover most of them.
Missing elements of the offense
The narrative tells a story but never proves the charge.
Fix: check each statute element against the narrative line by line, per Police1's error taxonomy.
Weak RAS or PC articulation
Conclusions stand in for observations.
Fix: attach observable facts to every escalation, and give use-of-force reports the detailed justification Police Magazine's report-writing refresher calls for.
Passive voice that hides the actor
"The subject was handcuffed" by whom?
Fix: rewrite in active voice per the IACP principles.
Jargon, codes, and euphemisms
Ten-codes mean nothing to a jury.
Fix: plain English a civilian follows without translation.
Inconsistent times, names, or IDs
The face sheet says 1402, the narrative says 1420.
Fix: cross-check CAD, face sheet, narrative, and attachments before submitting.
Seeing corrections in context helps more than rules in the abstract. These police report writing examples walk through full narratives across common incident types.
An original fill-in skeleton for a routine theft-from-vehicle report:
On [date] at approximately [time] hours, I was on uniformed patrol in [jurisdiction] when I was dispatched to [address] regarding a theft from a vehicle. CAD #[number].
Upon arrival at [time], I contacted the victim, [V1: full name, DOB], who stated, in summary, that she parked and locked her [vehicle year/make/model/color, plate] in front of her residence at approximately [time] and last saw it secured at that time.
At approximately [time], V1 returned and observed the front passenger window shattered and the glovebox open. V1 reported the following items missing: [itemized list with descriptions and values]. V1 stated no person had permission to enter the vehicle or remove the property.
I observed [damage and scene observations]. I photographed the vehicle and surrounding area; photos are attached. I canvassed [locations] for witnesses and cameras with [results].
I collected [evidence item, location found], logged it as item #[number], and transferred it to [name/role] at [time] hours.
Disposition: [report taken, case number issued to V1, follow-up routed to investigations].
Notice what the skeleton enforces: chronology starting before dispatch, an ownership and permission line for the theft elements, exact item descriptions, and a closed chain of custody.
For a public-facing reference, the Santa Barbara County Sheriff's Office publishes an online police reporting narrative example showing a simple theft narrative in plain language.
First person, past tense, active voice. The IACP's Principles of Report Writing directs officers toward past-tense, active-voice writing, and first person keeps every observation attached to the officer who can testify to it.
The 5W1H, full identifiers for every person, a chronological narrative, and facts supporting every element of the offense. MPD's training and Police1's error analysis treat missing identifiers and missing elements as core failures.
That depends entirely on agency policy. Some agencies, like DC's Metropolitan Police Department, publish training that addresses BWC viewing relative to the initial report and how that review is documented in subsequent reports. Check your policy before you press play, and document what you reviewed.
There is no universal length. The standard is completeness: long enough to cover every element, justification, and material fact, and no longer. The IACP's Four C's set the test.
That is how to write a police report that survives supervisor review and holds up in court: classify first, gather before you type, write in true chronological order, justify every action, and audit with CLEAR-PC before you submit.
The next time sink to attack is the draft itself. Learn how to automate police reports from BWC audio, with the officer reviewing and approving every word before it reaches the RMS. For the bigger picture, the guides to AI in law enforcement and the law enforcement software landscape map where report automation fits in an agency's stack. CLIPr offers a free 30 to 90 day pilot for up to 50 officers, no credit card required.


CLIPr turns BodyCam and DashCam audio into AI-assisted police report drafts that officers review, edit, and approve before anything is copied into the RMS. Agencies keep ownership of their data, backed by a CJISSECPOL compliant and SOC-2 Type 1 security posture.
Run CLIPr with your own bodycam footage. Free 30 to 90 day pilot for up to 50 officers, no credit card required, subject to approval.